

A Complete Guide to Wedding Invitations: From Design to Delivery

Photo Credit: Josie V Photography
As soon as you set your wedding date, it’s time to start thinking about invitations. An invitation provides guests with the most important details of the day, while also setting the tone and aesthetic. Here are the steps you should take, from design to delivery, to tackle the process with confidence and ease.
1. Map Out Your Invitation Timeline
Timing is everything when it comes to wedding invitations. You'll want to give your guests enough notice to plan while keeping the date fresh in their minds. For most weddings, you should mail invites around 12 weeks before the big day. This gives everyone time to respond and plan accordingly.
If you're planning a destination wedding or expect many out-of-town guests, add a few extra weeks to that timeline. This helps guests block off the date and book flights before prices go up.
2. Choose Your Design and Colors
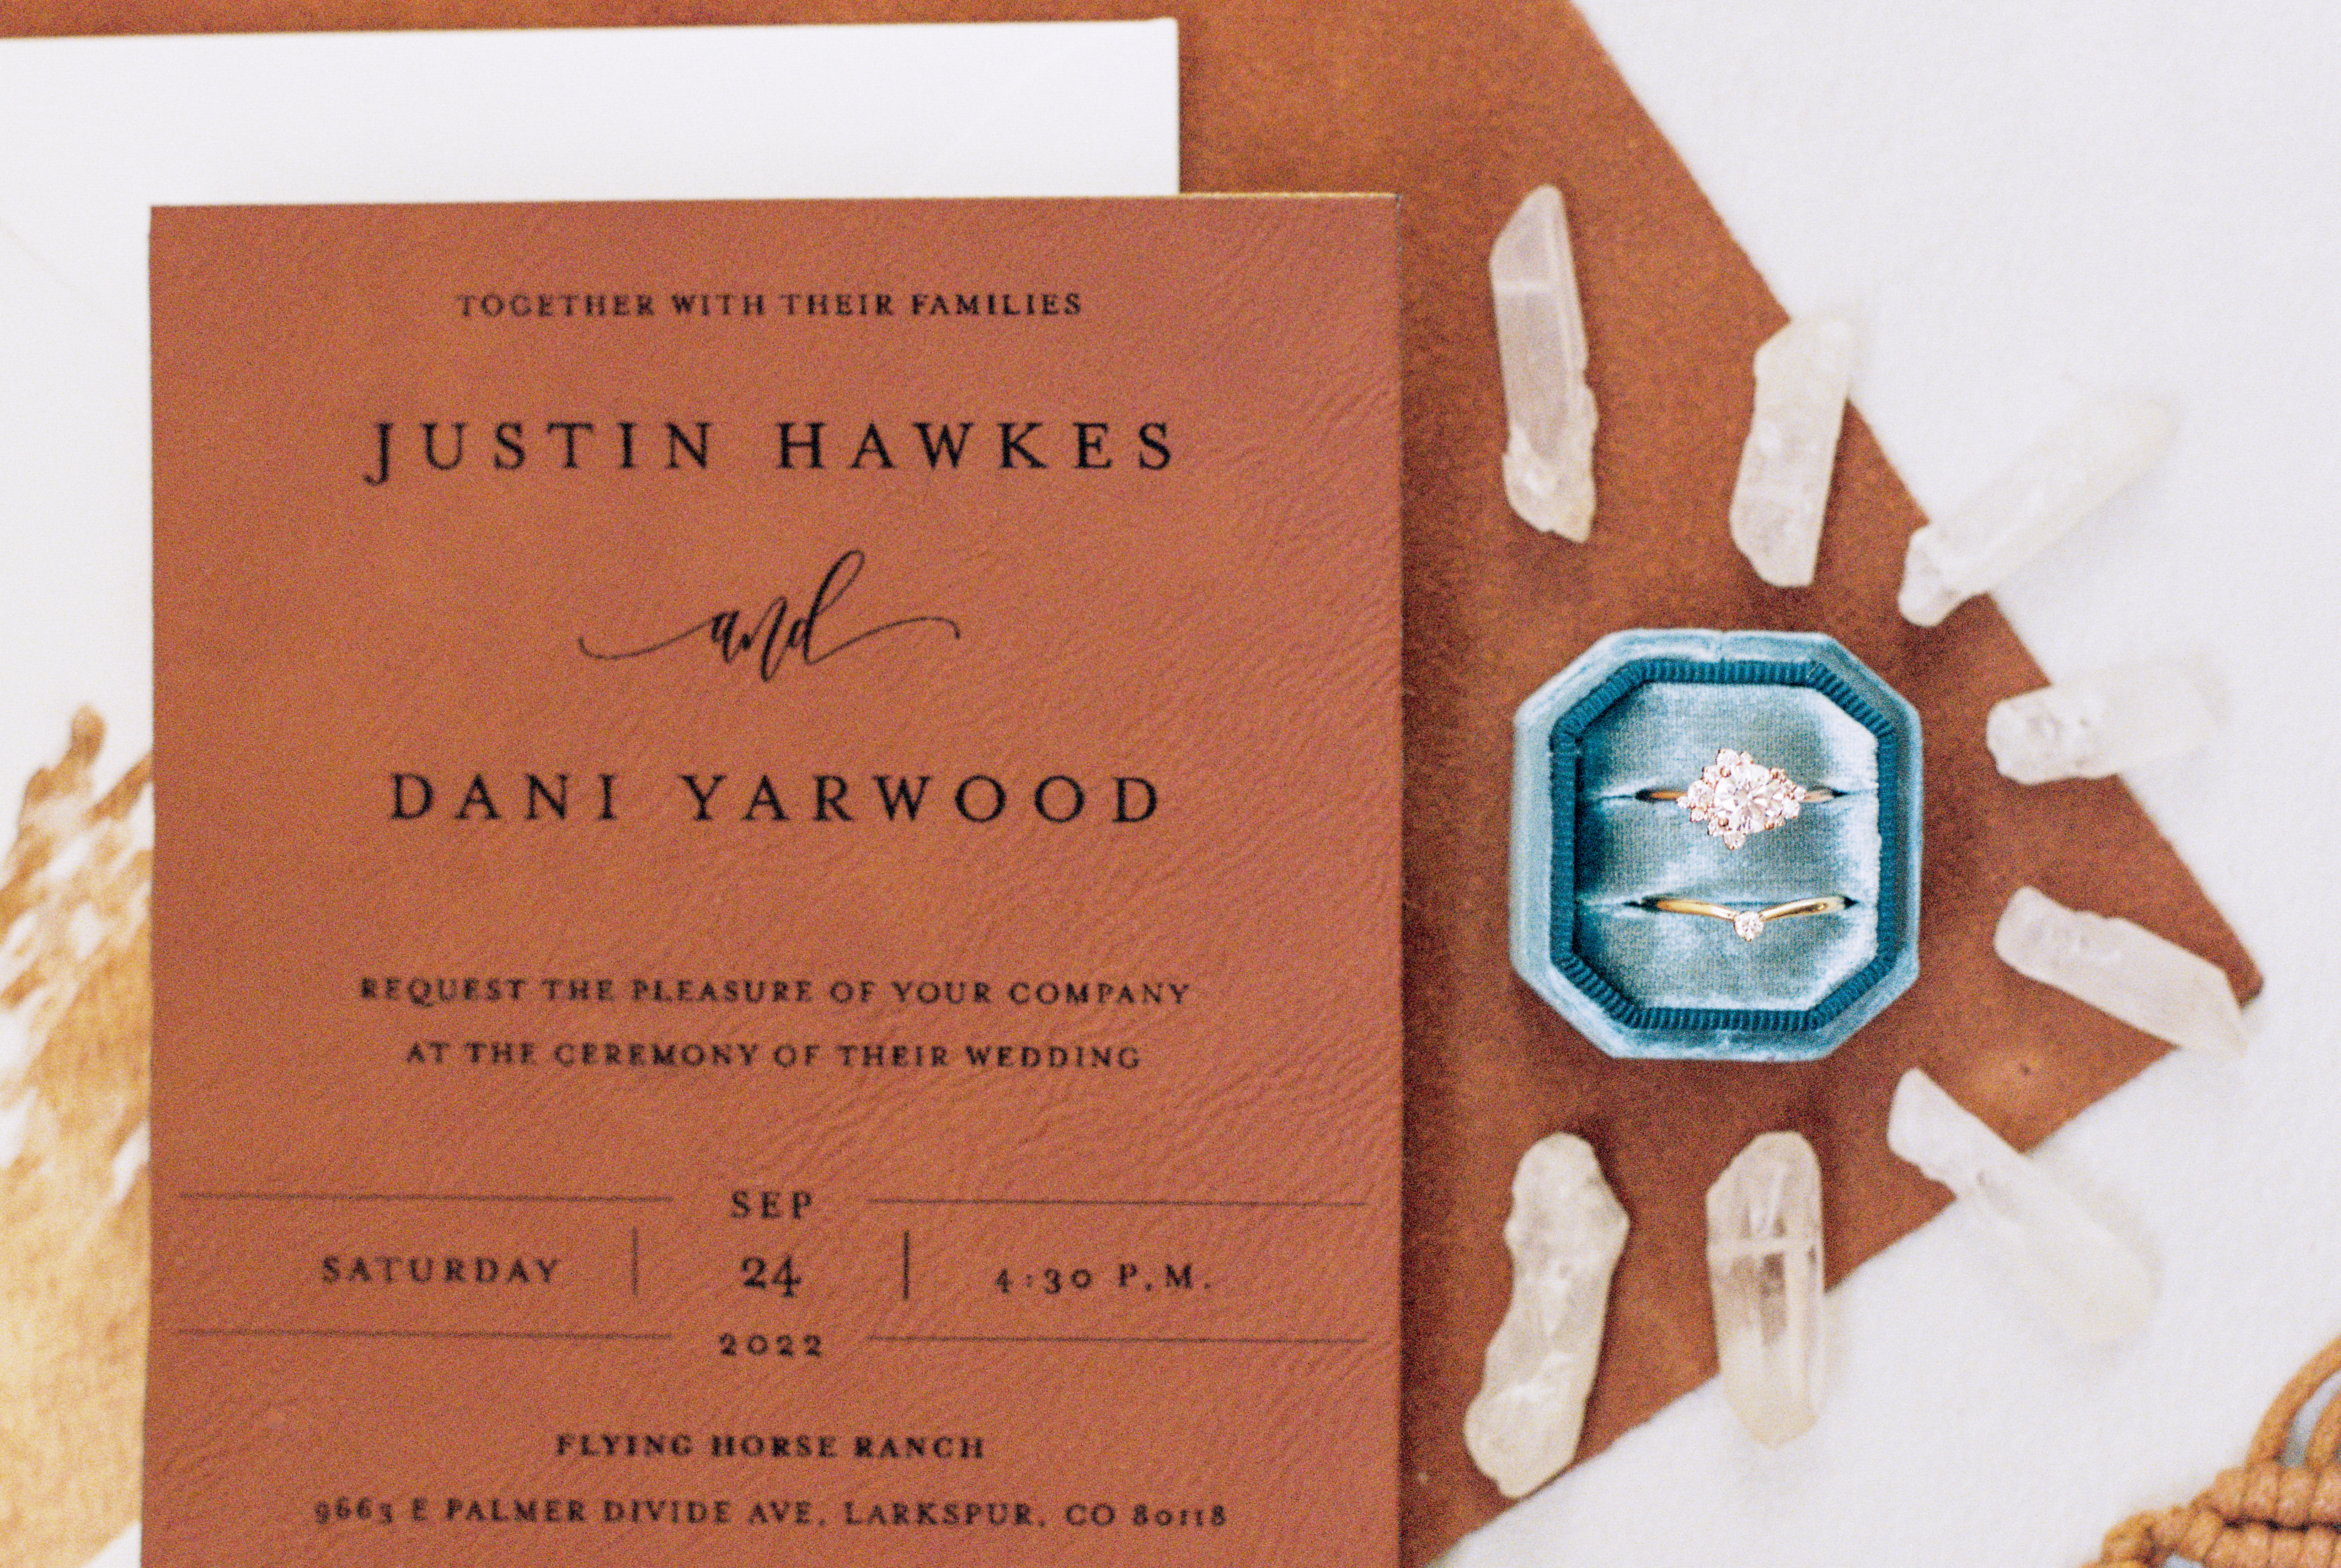
Your invitation design can give guests a sneak peak of your color scheme, atmosphere and level of formality. For example, you may choose a floral design for a garden party wedding. A black tie event may call for high end touches like ribbon or gold accents.
You can find pre-designed invitation suites from stationary companies or wedding websites. Platforms like Canva also have invitation templates that you can customize.
Most couples spend around $250 for 100 guests, but costs vary widely depending on your choices. Think about your overall wedding budget when deciding how much to invest in invitations.
Simplify your design by only picking two to five colors that reflect your wedding's mood and venue. Experts recommend selecting two primary colors, two secondary shades and one accent hue to add dimension.
3. Decide What to Include in Your Suite
A wedding invitation suite includes several pieces, and knowing what is essential helps you stay organized and on budget. Every mailing requires four key elements, starting with the main invitation card, which contains your ceremony details.
You can also include a response card with a pre-addressed, stamped envelope so guests can easily confirm their attendance.
Some couples add a second inner envelope for a more formal presentation or a decorative wrapper to tie everything together.
If your ceremony and reception are at different locations, a separate reception card is helpful. To further assist guests, consider providing additional cards for directions, events and accommodations.
If you have a limited budget, consider a single card with information on the front and back, as well as a QR code that takes guests to your wedding website.
4. Handle Wording, Etiquette and Special Considerations
To get the wording right on your invitations, start with the basics. Adjust from there to fit your style and family situation.
There are three main considerations:
- Names and spelling: Double-check that every name is spelled correctly, including your own, your partner's and your parents' if they're hosting.
- Time and date: It is customary to write out the date and time in full. For example, "Saturday, the fifteenth of June, two thousand twenty-six, at four o'clock in the afternoon."
- RSVP details: Include a clear deadline for responses, usually several weeks before your wedding.
If there’s any other information you think is absolutely critical, such as the theme or attire, you can put it on the invitation. However, to avoid cramming too much text, simply direct guests to your website for more details.
Address the outer envelope to the specific people you're inviting, including plus-ones and children.
5. Gather All Your Guest Addresses
Collecting addresses is one of those tasks that seems simple until you realize how many people have moved or how outdated your contact list is. Start early to give yourself plenty of time.
Create a spreadsheet with columns for names, street addresses, cities, states and zip codes. If you don’t know someone’s current address, send a quick text or email to other family members for help.
Once you have everything, go through your list one more time to catch any typos or incomplete information. It's much easier to fix mistakes now than to deal with returned mail later.
6. Address and Assemble Your Invitations
This is where attention to detail really pays off. It’s estimated that around 4% of mail is undeliverable, often due to incorrect or incomplete addresses. A few extra minutes now can save you from missing RSVPs or resending invitations.
Before you start addressing envelopes, verify each address. Look for missing apartment numbers, outdated street names or incorrect zip codes. If you're using inner envelopes, write the guest names on them and the full mailing address on the outer ones.
When assembling your suite, stack the pieces in order with the invitation on the bottom, then any additional cards and the RSVP on top. Insert everything into the inner envelope with the print facing the back flap so guests see it when they open it. Then, place it into the outer mailing envelope.
7. Mail Your Invitations Without Stress
Once you have written your guests’ addresses and your return address on all of the envelopes, it’s time to send them out into the world.
For something as important as wedding invitations, it’s best to take them to the post office instead of putting them in a mail box. If you have standard sized invitations and envelopes, all you need is a single stamp.
Square envelopes, thick cardstock or anything over 1 ounce costs extra. Wedding invitations often require multiple stamps per household, including the outgoing invitation and the return RSVP envelope.
Ask the postal clerk for the exact amount you need. If you have the budget, consider buying pretty commemorative stamps that match your wedding theme.
Once you have paid for postage and handed them over, you can sit back and wait for the RSVPs to roll in.
Your Simple Path to "I Do"
You've made it through the invitation process, and now you can check this major milestone off your wedding planning list. Create beautiful invitations, double-check the addresses and set yourself up for a smooth RSVP process. Now, it's time to focus on all the other exciting details that make your wedding uniquely yours.
Author bio: Cora Gold is a wedding writer and editor of Revivalist magazine. She aims to inspire couples to achieve the wedding of their dreams. Connect with Cora on LinkedIn, Pinterest and Twitter.


2024 © All Rights Reserved. Spruce Mountain Ranch Privacy Policy